Skip to main content
News Articles, Folders, and Feeds
How to Create a News Article
- In Cascade, click on the "news" or "news-and-events" folder, then the 2019 folder
- Hover your mouse over the appropriate month folder (01 for January, etc.), then click on the right-pointing arrow. This will open the folder in the main editing window.
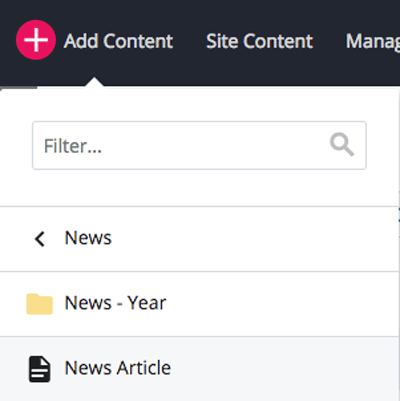
- Click on the red button at the top of the page labeled "Add Content" and click on "News." Then click on "News Article."
- In the editing window that has opened on your screen, fill in these fields as follows:
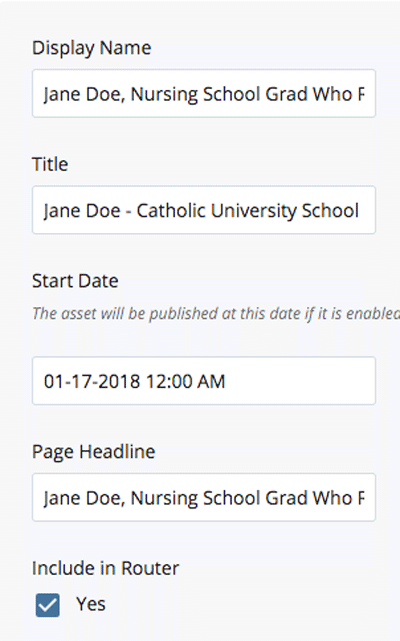
Display Name: Type in the headline as you want it to appear in the News Feed on your News and Events page. (e.g. Jane Doe, Nursing School Grad Who Rose to Army General, Dies)
Title: Type in the page title that will appear in Google search results. (e.g. Jane Doe - Catholic University School of Nursing)
Start Date: Fill in the date and time that will appear on the news article.
Page Headline: Usually, you can just copy the Display Name into this field, unless for some reason you want the page headline to be different from the headline that appears in the news feed.
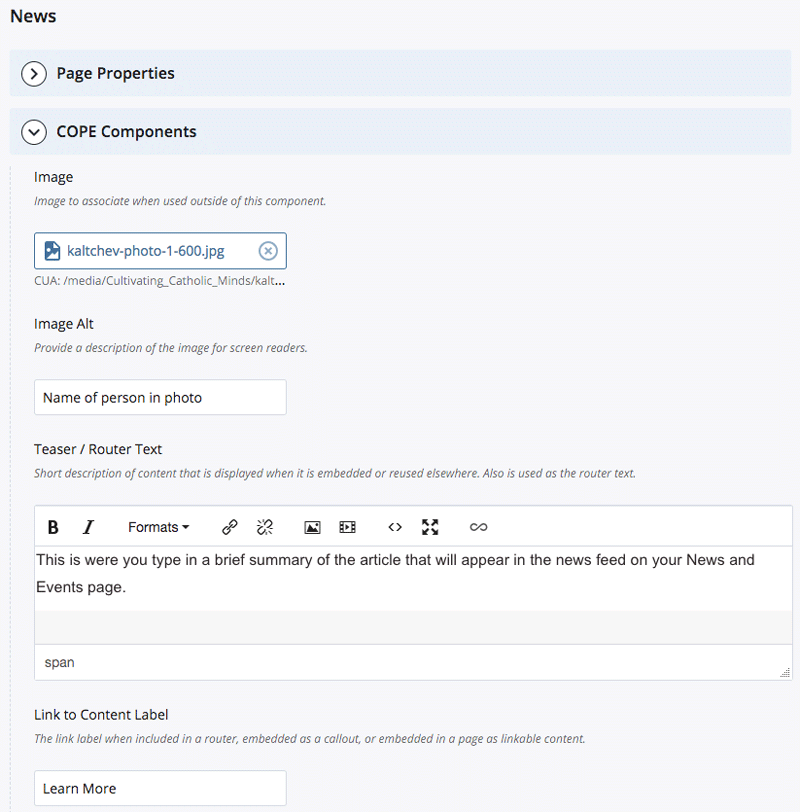
COPE Components:
"Image" – You can upload an image or not. If you do, first prepare the image for web use by saving it no larger than 1200 x 700 pixels, and 72 dpi. Type brief description of the photo in the Image Alt field.
"Teaser / Router Text" – This is were you type in a brief summary of the article that will appear in the news feed on your News and Events page.
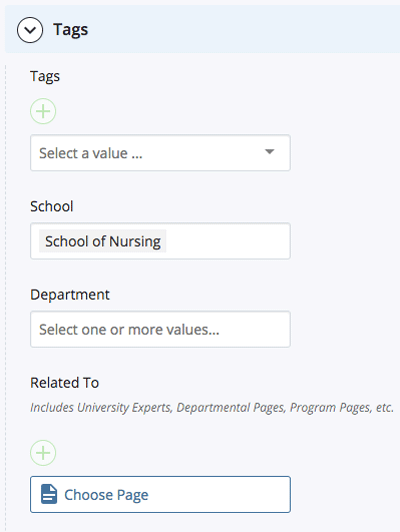
Tags: You will note that your school (and department if applicable) is selected by default. You can also add other tags as appropriate for the article you are posting.
"Related to" – When you reach a point where you have posted a significant number of stories, you can use this area to select stories that are related to the one you are posting. You can choose up to three. (If you leave this field blank, it will default to displaying the most recent three news stories.)
Row:
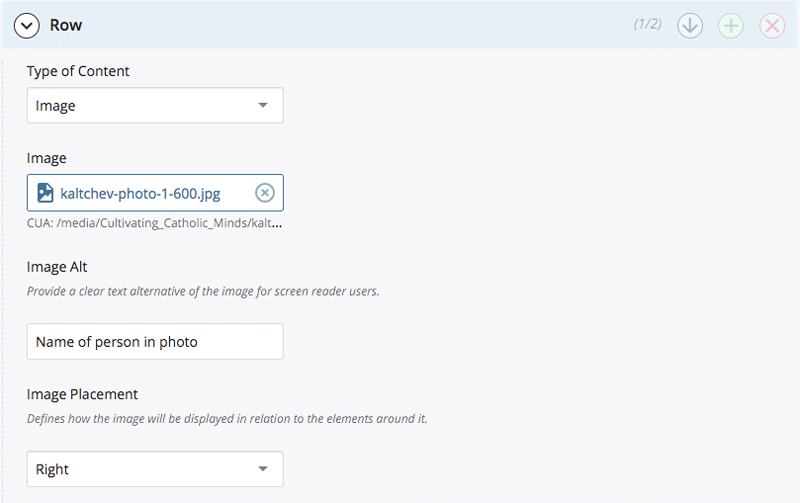
"Type of Content" – If you want to use a photo with your article, use the dropdown menu in this area to select "Image" then choose the file, type in the Image Alt text, and select whether you want the photo to appear "Full-Width" above the article or inset "Left" or "Right."
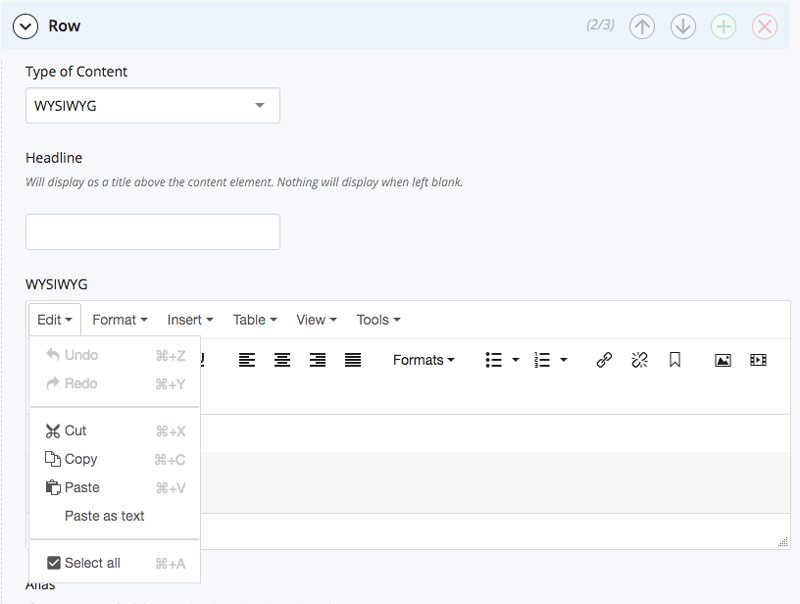
IMPORTANT – If you have chosen to use a photo, you will need to use the green plus sign to add another row for the text. It will default to WYSIWYG.

In the WYSIWYG Row, you do not need to fill in the headline field if you have already filled in the "Page Headline" field above.
Type or paste your article into the WYSIWYG window. If you are copying and pasting, please use unformatted text by selecting the "Paste as text" option in the "Edit" dropdown menu.
- Click the blue "Save & Preview" button at the top of the editing window. After previewing and making whatever corrections are needed, click "Submit" and then "Publish."
- Remember to also publish the News and Events page so your new article will appear in the news feed on that page.